Skip to the content


A practical guide
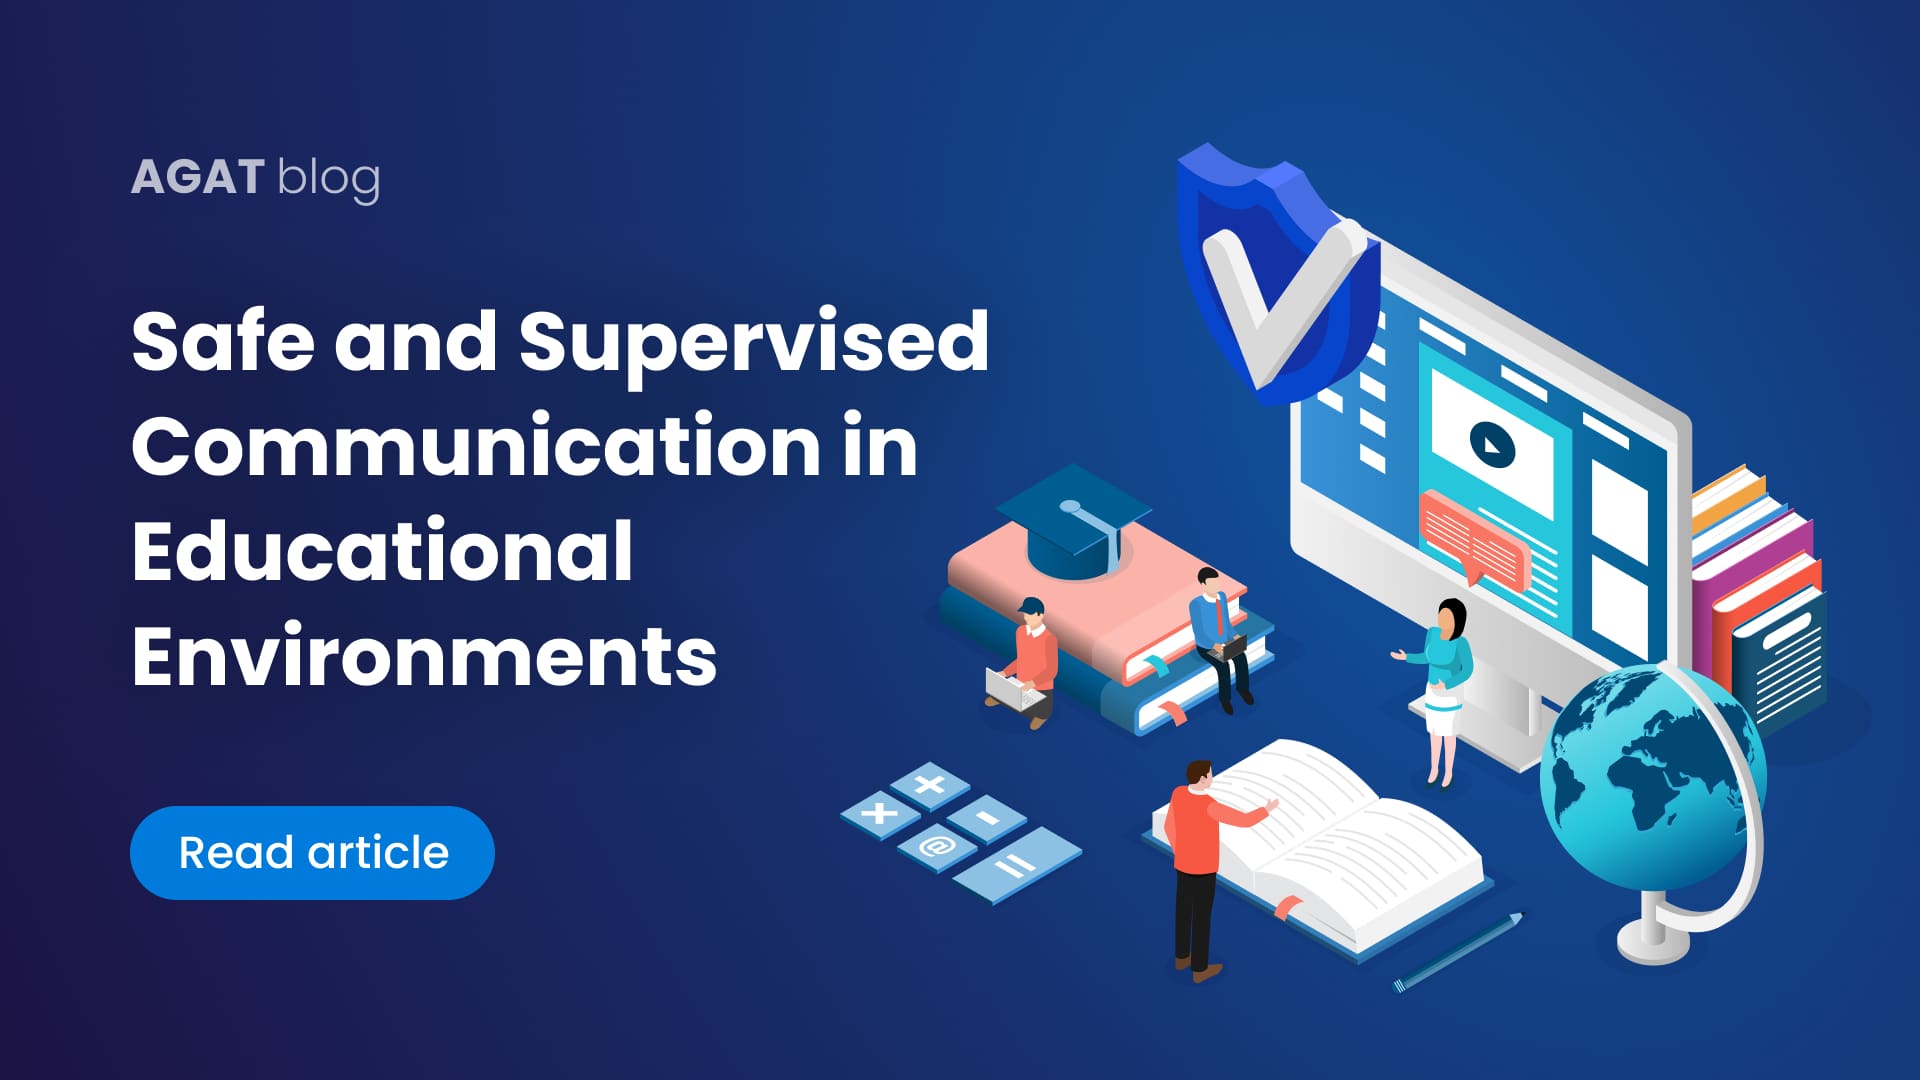
In this guide we are going step by step on how to use Webex Teams eDiscovery feature and show you another solution that could enhance it
Here is a video with the complete instructions
1. Go to the admin hub https://admin.webex.com/
2. Enter your Compliance Administrator credentials

3. In admin hub go to Troubleshooting

4. Then go to the status tab

5. Under tools, click on eDiscovery

6. You can search manually or by importing a CSV.
When generating a report, the ‘AND’ operation will be used to gather data.

7. You can filter by e-mail addresses or by space names.

8. Filter by dates. For information older than 3 months you will require the Admin Hub Pro pack.

8. Give a name to your report and description. Then click Search & Generate Report.

11. Download and install the eDiscovery download manager

10. To view your report, click on the download option

11. It will pop-up the eDiscovery download manager. Sign in with the same credentials used for the Admin Hub.

12. The download should begin

13. Once the download is complete, you will be able to open the containing folder

13. Unzip the archive

14. It will contain .eml files

15. Each .eml file is a message sent in a space

Now that we explained how to use Webex’s built in eDiscovery, we want to show you a solution to deal with more advanced search.
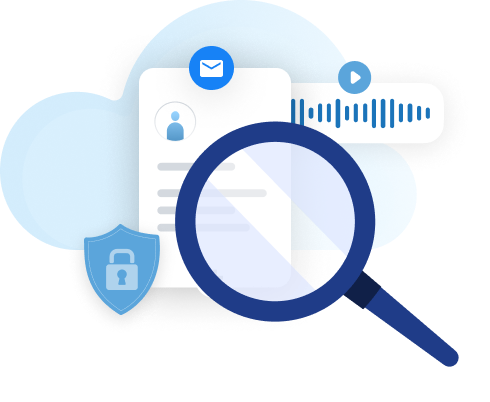
For companies that are looking for more advance capabilities, AGAT as developed SphereShield for Webex. It offers a solution for eDiscovery handling advanced search on various fields.
How to search using SphereShield eDiscovery for Webex
1. Open Your Admin Portal
2. Go to eDiscovery → dashboard

3. Click on Advanced search
4. Filter by time, participants, session type (Webex Teams, MS Teams, etc.), conversation type (space, meeting, chat), Team Name, Space Name, conversation id, message id, text (keywords), attachments or video recording.

5. On the left you will have the search results list and on the right the content of the search result.

6. Keywords will be highlighted. If the result is from a meeting transcript. it will be automatically chosen.
Screen OCR capture of meetings is also available.

7. Clicking on the timestamp of the meeting will open the video in a new window and will jump to that point.

Comparison Table
| SpS (SphereShield by AGAT) | Webex Native | |
|---|---|---|
| Search options | Time, Participants, Session Type (Webex Teams, MS Teams, etc.), Conversation Type (space, meeting, chat), Team Name, Space Name, Conversation Id, Message Id, Text (Keywords), Attachments or Video Recording. | Date, E-mail, Space Name |
| Search results | Web UI | Download Manager |
| Readability | All messages appear in the portal | Each Space is stored in a different folder, each message is in a different .eml file |
| Retention policy | User-Configurable | More than 3 months require a pro license |
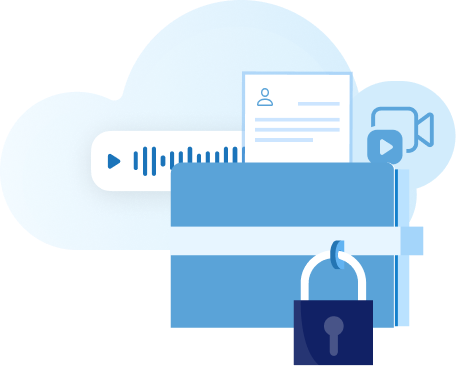
| Scope | IM, files, Audio, Screen Sharing, Video | IM and Files |
| DLP | Integrated DLP | No integration |
Contact Us for more information
SphereShield eDiscovery for Webex Teams -> https://agatsoftware.com/webex-teams-ediscovery/